Alright, lets face it. This summer was over when vacation started. May was nice but after that not so. So what to do?
I have been on and of playing with a small autonomous robot car (more on that in the future) but I have grown tired of always mounting stuff with blue-tac and electrical tape.

So one rainy day I was browsing the local marketplace and found a used “Ender 3 Pro” for a decent price, including some filaments and a unopened BL-Touch auto bed leveling sensor (what ever that means), I know nothing about 3d printing but I’ve heard the name Ender and it has Pro in its name so it has to be good, right? After convincing my daughter to take a drive I was now the proud (confused) owner of a Ender 3 Pro.
After getting home not bothering looking up any guides or reading anything I mange to route the filament, plugged in the power cord and flicked the power button. Now what? Apparently benchy is a thing so lets try that, got the STL from thingyverse but had no idea how to get it to the printer. I’v heard about slicers so after a quick google on “slicer ender 3 pro Linux” I installed the first hit (can’t even remember) loaded the model and pressed slice. Manage to get the printer going and the result was, how can i put it unimpressive. After a few hours of fiddling, reading up on all the settings, z probe offset and digging the nozzle into the bed a gazillion times I was finally getting some where.
No standard
Fast forward a few days and considering all the Z offset stuff leaving my printbed looking like a moon landscape, I decided to install the BL-Touch.
How hard could that be. Not straight forward as it seems. The instructions that comes along with the BL-touch is really lacking, but after some more googling, flipping some wires, forcing the connectors into slots they weren’t met to go into and downloading a binary firmware (that one hurt) from some to me obscure site the thing worked! This was a pivotal moment in my relation to the printer I realized just how early days in 3d printing this still is and how hackable this machinery is. So after figuring out that the firmware is called marlin i found it on github and manged to configure it for my setup tweak some settings getting UBL (unified bedleveling) working and installing it on the printer. SUCCESS!
What else can we do.
Having some future ambition of printing more exotic materials than PLA I picked up a Ender Spider II hotend along with a build surface that dint look lika a teenagers spotted face.
After getting them installed I was starting to feel cooky and trying to figure out more stuff I could do to improve the printer.
Fans
Seems like one popular mod is to replace the fans to try and make it more quite because during printing it sounds is horrendus. So after some reading up, looking at wiring diagrams of the ender and taking some messurements i ordered two Noctua fans one A4x20 and one A4x10 with the goal of replacing the main board fan and the hotend fan.
At the same time I also orderd some sheep buckconverters since apparently the original Ender 3 fans runs on 24V.
Wiring
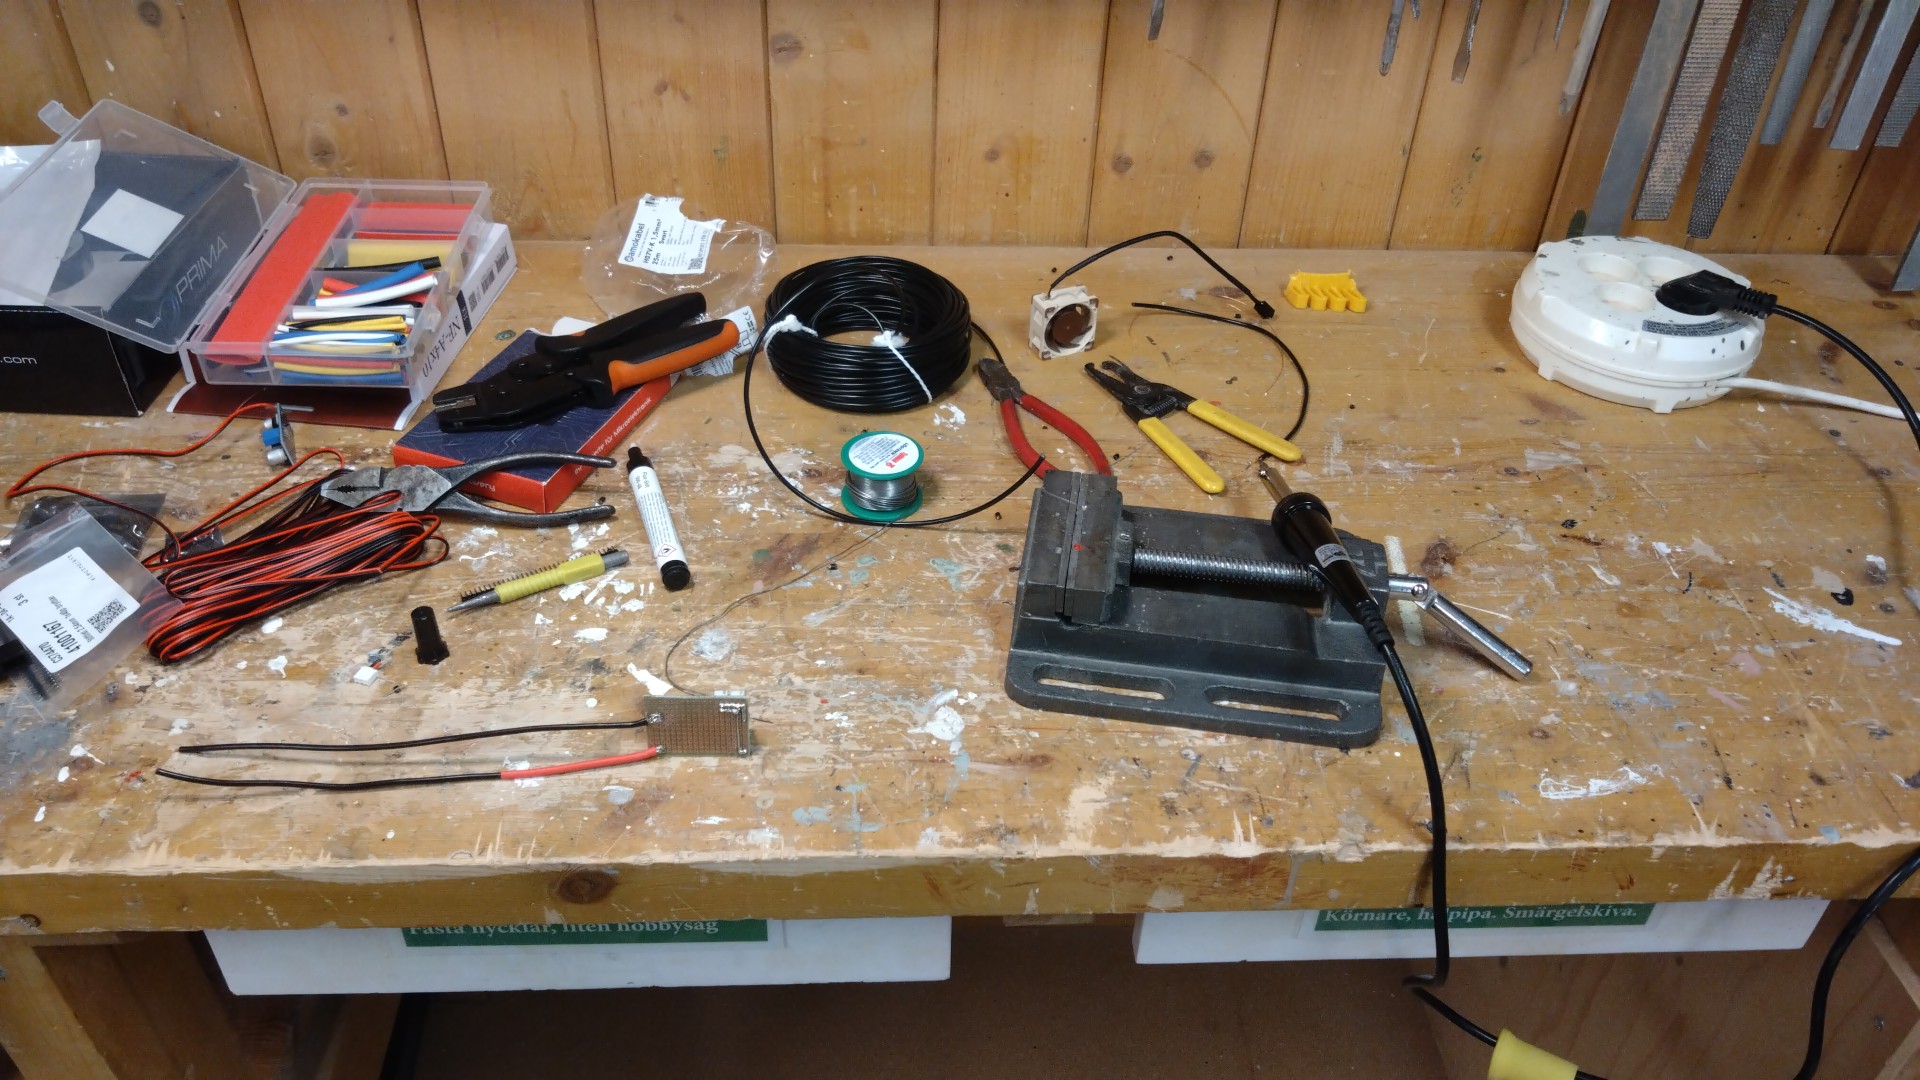
This should have been the easy part, crimp a few connectors, solder a few wires and your done. So I soldered some JST sockets to a breadboard and hooked up the buck converter.
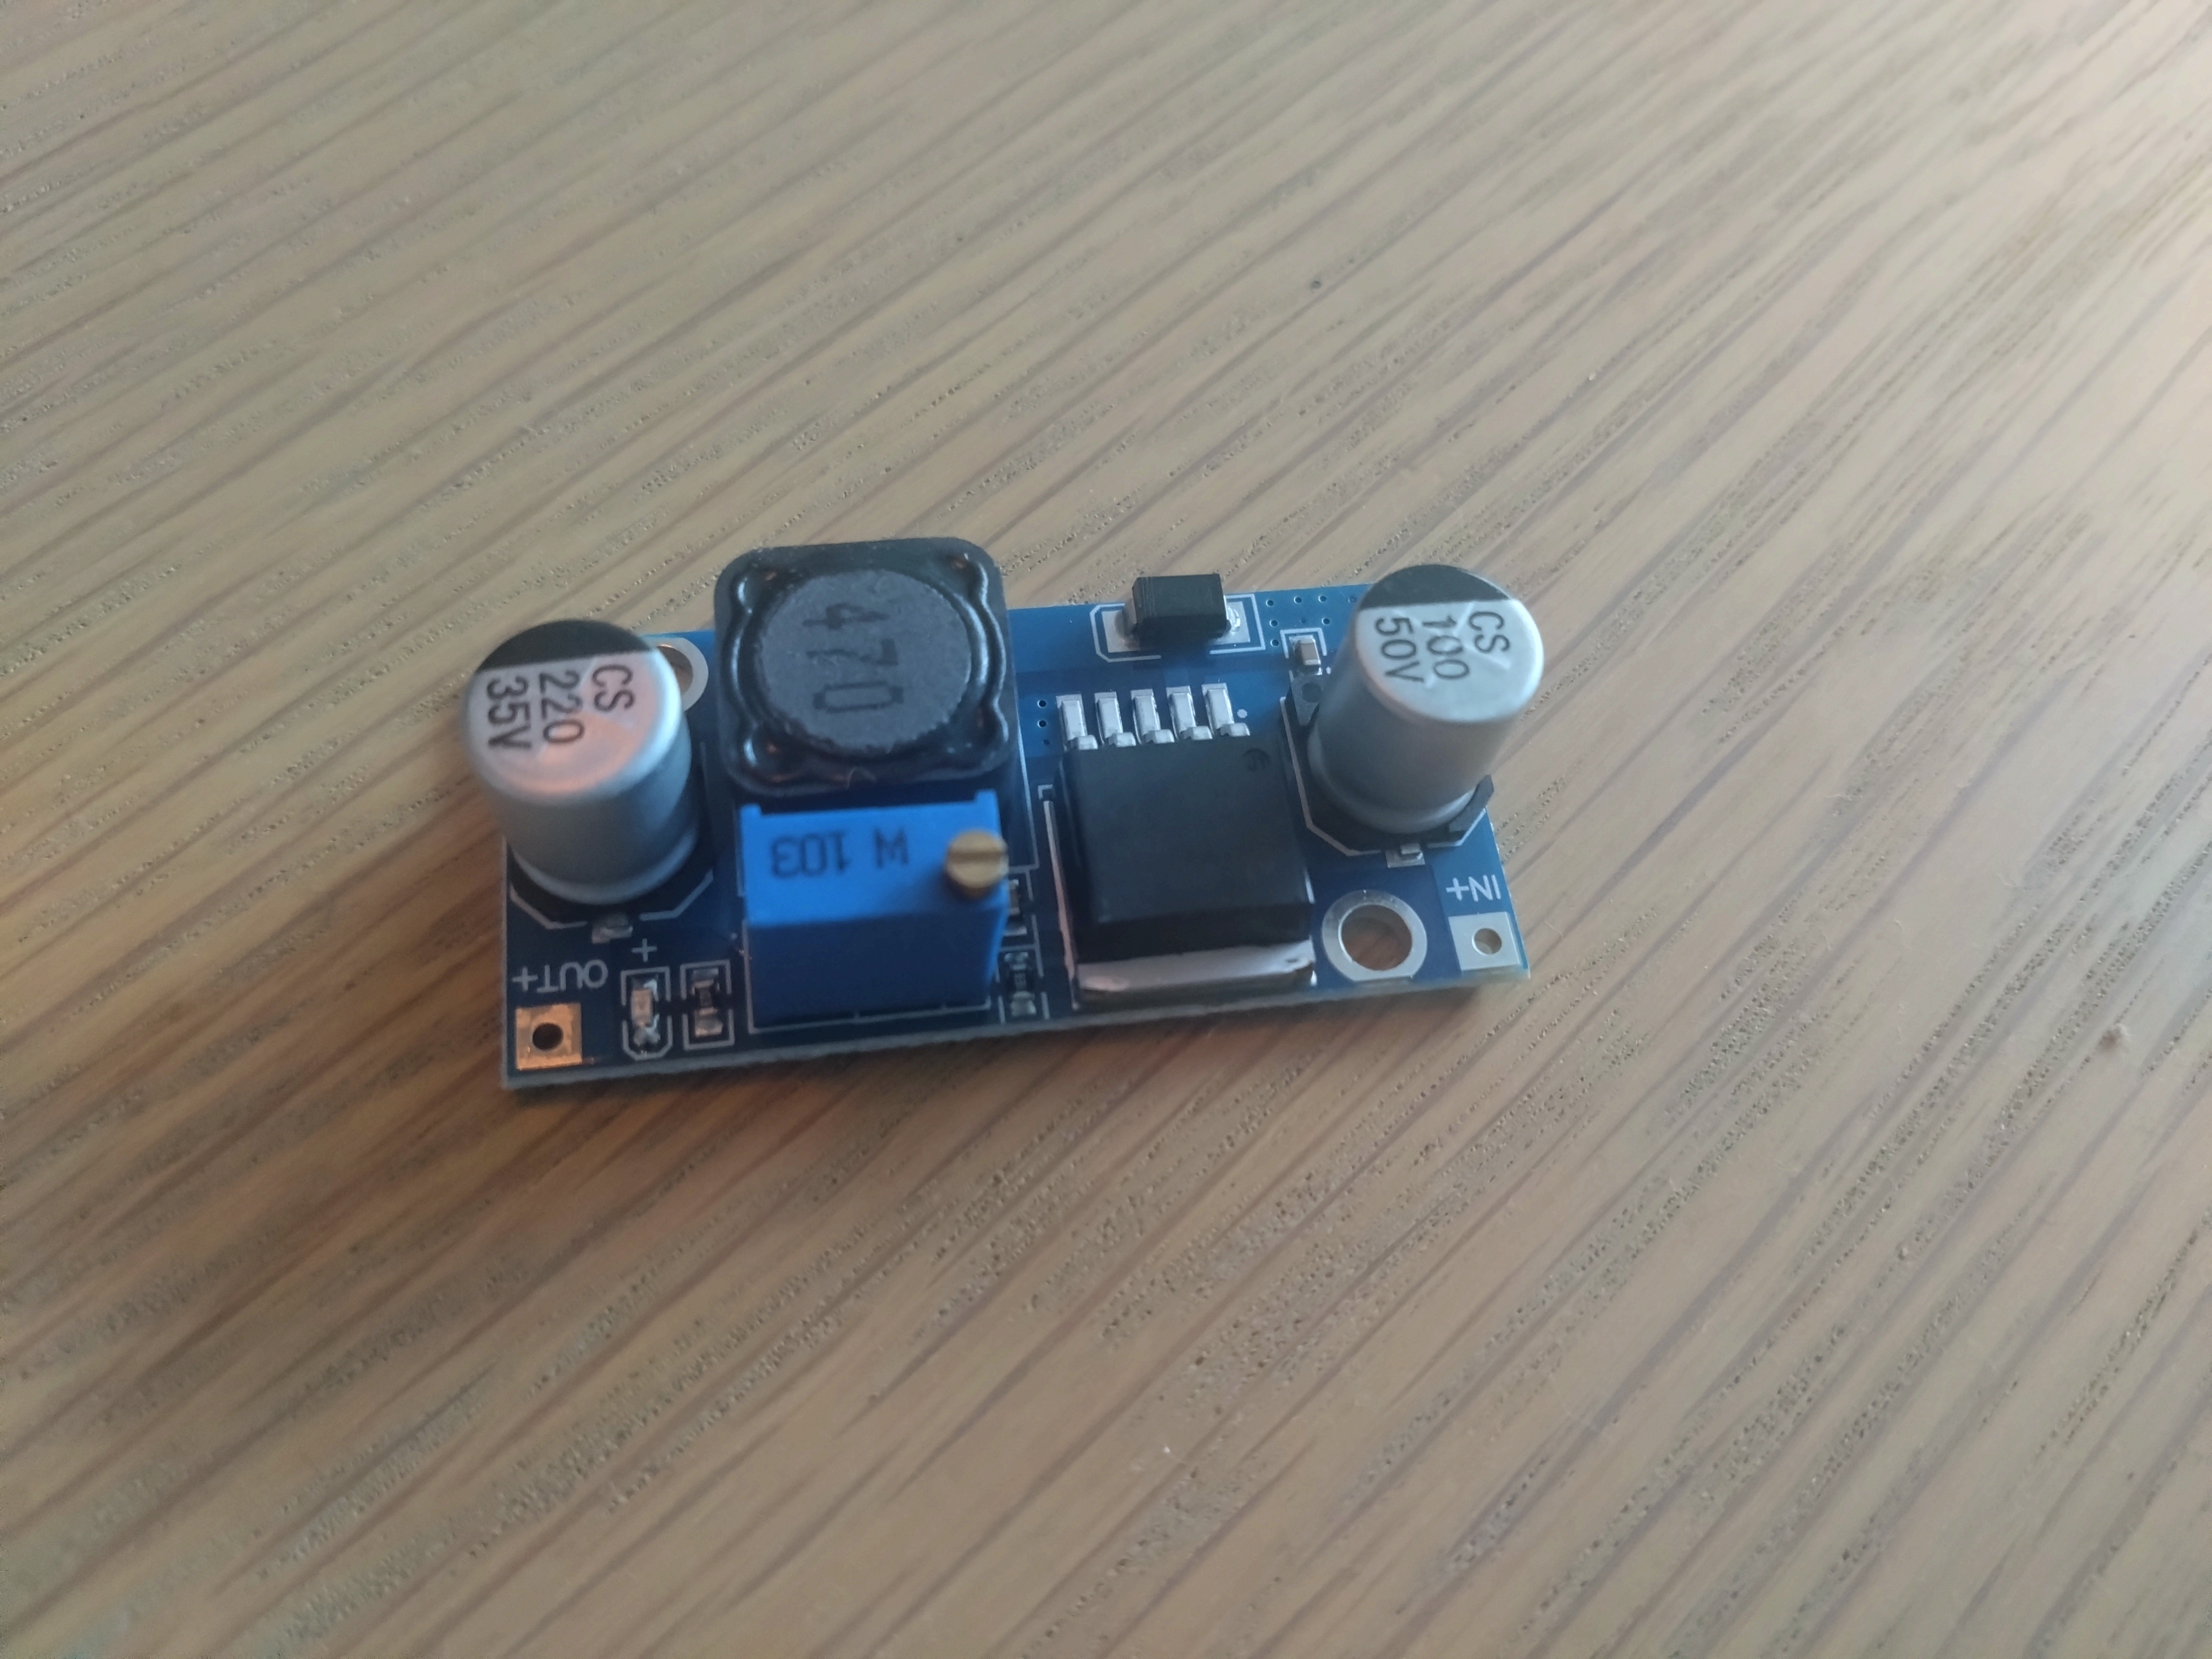
I was planning on running both the mainboard and hotend fan from the always on hotend fan connection on the main board and the first time i hooked it up, by accident swapped the wires. A small fire later and some re-soldering It was actually working.
Mounting
There really arnt any lack of custom fan shrouds/mounts for the Ender 3 Noctua combination, but all of them seems so overly complicated and bulky. I wanted something simple and lightweight that could be detached and not obscure the view of the actual printing.
So naive as I am i thought how hard can it be? I know CAD, right? Its only been like.. 20 years since i last played around in some kind of CAD software… crap.
Registered an account on onshape.com and after stumbling around for way too long I finnaly ended up with something that both is printable and fit together.
Final(ish) Design
In its current version the design consists of 4 parts. Mounting plate, fan holder, bl-touch mount and a funnel to direct air from the parts fan.
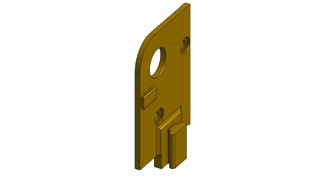
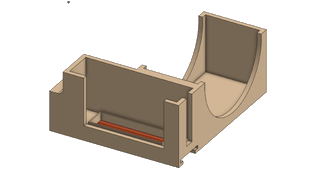
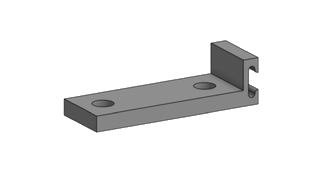

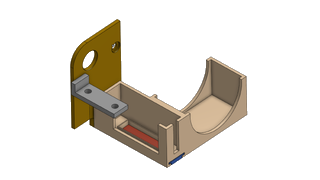
All the parts are made to slot together via dovetails and the fans are only slides down into place. This lets me easy access to the hotend nozzle. So far its seems stable enough and I have no problems with heatcreep or the mount itself melting.
Conclusion
This is what it ended up looking like.
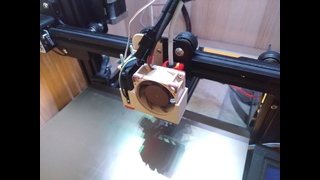
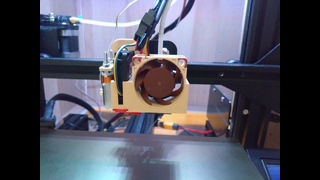
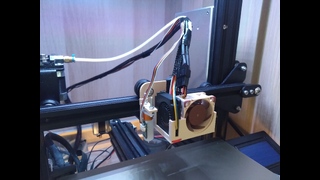
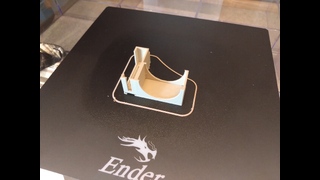
For it being the first 3D prited part i designed and printed I’m fairly happy with the result. There are for sure improvements that could be made like tweaking of slicer settings for better tolerances between the parts.